Arch

Last updated on 6 months ago

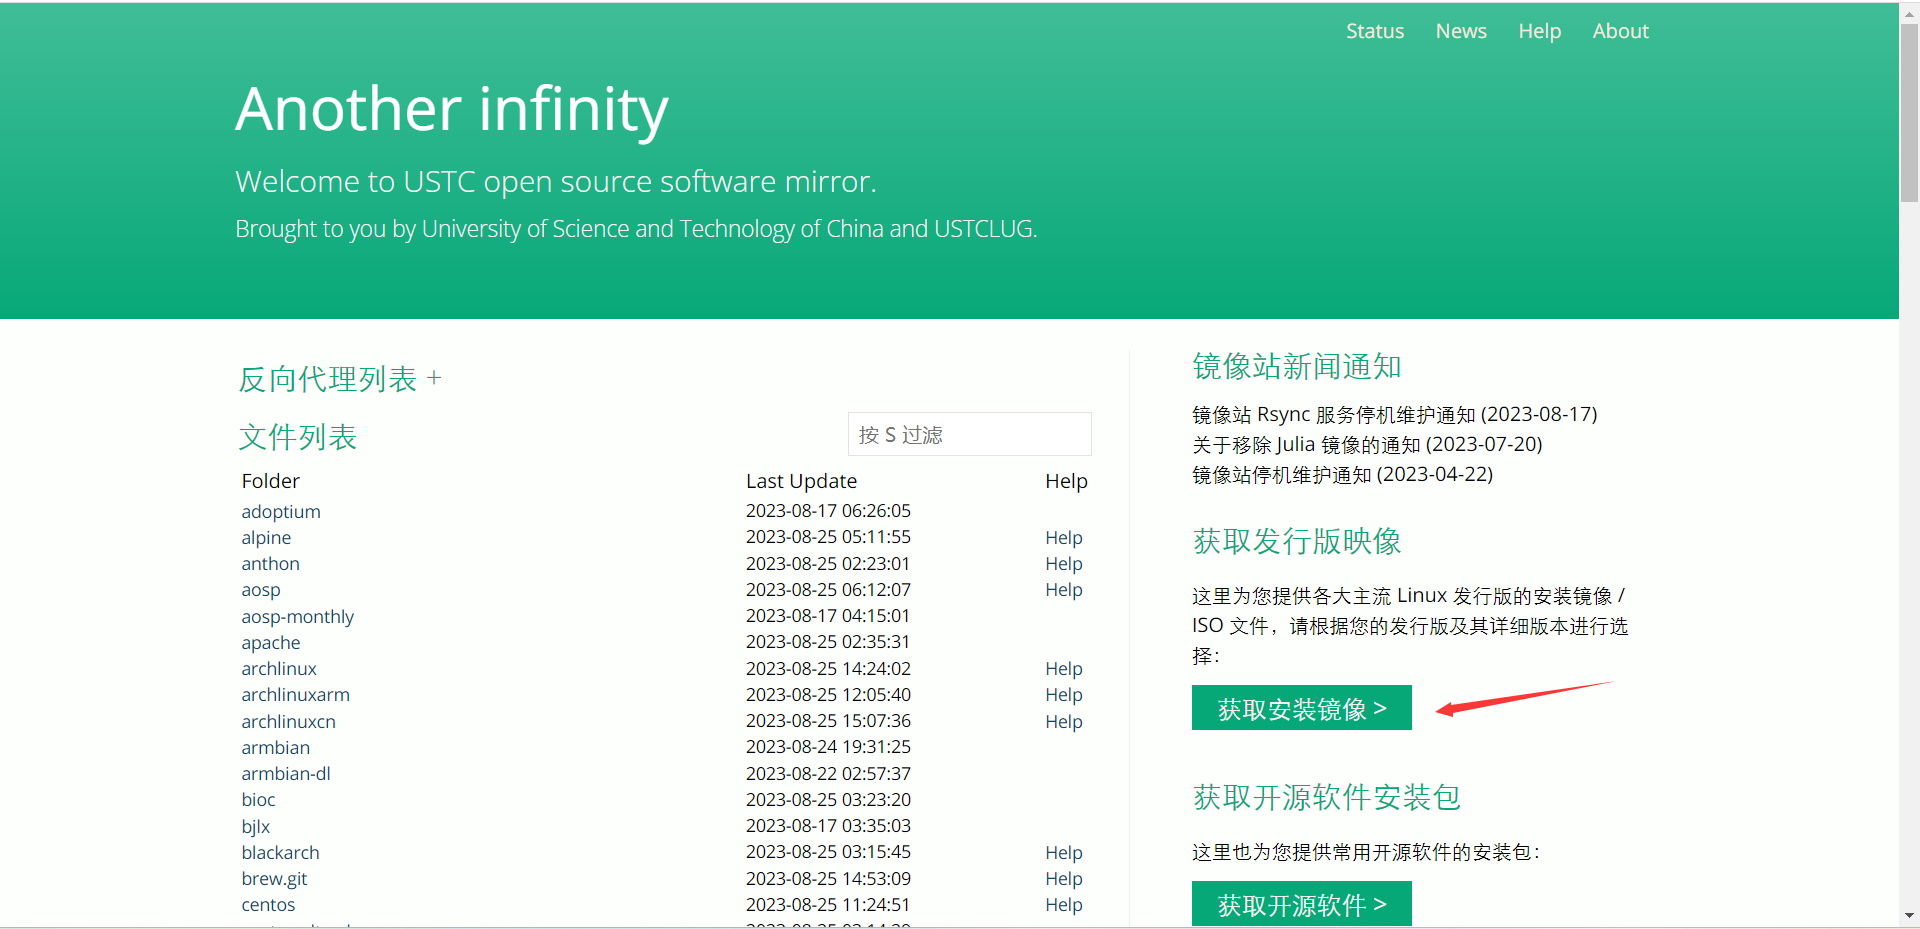
镜像

http://mirrors.ustc.edu.cn/
中科大镜像站,搜索archlinux

VM

自定义–>下一步–>稍后安装操作系统–>Linux 其它Linux 5.x –>自己选–>2 1–>我给的2g–>默认nat–>默认LSI Logic–>默认SCSI–>默认创建新的虚拟磁盘–>我给了80g,单个文件多个文件都可以–>下一步–>自定义硬件–>新CD 使用ISO映像文件,选择前面下好的镜像–>完成
编辑虚拟机设置–>选项–>高级–>固件类型选UEFI

等一会

1
2
3
4
ls /sys/firmware/efi/efivars  //这步如果没报错则说明一切正常
ping baidu.com //看能否连接网络,这里延迟可能非常高
ip -brief address //看一看ens33 的ip,我的是192.168.49.131
passwd //设置一个密码

tabby

1
2
3
4
5
6
ssh 192.168.49.131    //yes,输入密码
pacman -Sy vim //安装vim
//文件末尾添加这两行

[archlinuxcn]
Server = https://mirrors.aliyun.com/archlinuxcn/$arch

接着编辑

1
2
3
vim /etc/pacman.d/mirrorlist
//把下面这个加到所以server的最顶端
Server = https://mirrors.aliyun.com/archlinux/$repo/os/$arch
1
2
3
4
5
pacman-key --init
pacman-key --populate archlinux
chown -R root:root /etc/pacman.d/gnupg
chmod -R 600 /etc/pacman.d/gnupg
pacman -Sy archlinuxcn-keyring

磁盘分区

要分以下三个区
EFI分区 300 MB
swap分区 4GB
root分区 剩余空间

-l```查看磁盘信息,执行第一个disk的路径
1
2
```bash
cfdisk /dev/sda

选择gpt,回车,选择new

EFI

大小为300M,type选EFI System,回车,按↓键选择Free space

swap

4G,type选Linux swap

root

默认剩下全部,linux filesystem

然后write ,yes
quit退出

格式化

1
2
3
4
5
6
7
8
//EFI 分区
mkfs.vfat /dev/sda1
//root
mkfs.xfs -f /dev/sda3
//swap
mkswap /dev/sda2
//查看分区情况
lsblk -f

挂载分区,安装系统

1
2
3
4
5
6
7
8
9
10
11
//挂载分区
mount /dev/sda3 /mnt
mkdir -p /mnt/boot/efi
mount /dev/sda1 /mnt/boot/efi
swapon /dev/sda2

//安装系统,这是一整句指令
pacstrap /mnt linux linux-firmware linux-headers base base-devel vim git bash-completion
//生成文件系统的表文件,作用是后面重启进去系统能自动挂载分区
genfstab -U /mnt >> /mnt/etc/fstab
cat /mnt/etc/fstab

进入新系统

1
2
3
4
5
6
7
8
9
10
11
12
13
14
15
16
17
18
19
20
21
22
23
24
25
26
27
28
29
30
31
32
33
34
35
36
37
38
39
40
41
42
43
44
45
46
47
48
49
50
51
52
53
54
55
56
57
58
59
60
61
62
63
64
65
66
67
68
69
70
71
72
73
74
75
76
77
78
79
80
81
82
83
84
85
arch-chroot /mnt
//设置时区
ln -sf /usr/share/zoneinfo/Asia/Shanghai /etc/localtime
hwclock --systohc

//设置系统语言
sed -i "s/#en_US.UTF-8 UTF-8/en_US.UTF-8 UTF-8/g" /etc/locale.gen
sed -i "s/#zh_CN.UTF-8 UTF-8/zh_CN.UTF-8 UTF-8/g" /etc/locale.gen
//生成本地语言信息
locale-gen
//设置本地语言环境变量
echo "LANG=en_US.UTF-8" > /etc/locale.conf

//设置主机名,如archlinux
echo "archlinux" > /etc/hostname
//hosts文件中添加主机名
echo "127.0.0.1 localhost
::1 localhost
127.0.1.1 archlinux.localdomain archlinux" >> /etc/hosts

//安装以下软件包
pacman -S grub efibootmgr efivar networkmanager intel-ucode

//配置grub
grub-install /dev/sda
grub-mkconfig -o /boot/grub/grub.cfg

//激活启用NetworkManager
systemctl enable NetworkManager

//给root创建密码
passwd

//安装openssl
pacman -S openssh
//设置开机自启动
systemctl enable sshd
//修改/etc/ssh/sshd_config允许root登录,修改PermitRootLogin的值为yes
sed -i "s/#PermitRootLogin prohibit-password/PermitRootLogin yes/g" /etc/ssh/sshd_config

//添加其他用户并设置密码,如kali
useradd --create-home kali
passwd kali
//设置用户组
usermod -aG wheel,users,storage,power,lp,adm,optical kali
//修改当前用户权限,编辑以下文件,取消%wheel ALL=(ALL) ALL前的注释,用:wq!保存退出
vim /etc/sudoers

//安装显卡驱动
pacman -S xf86-video-intel vulkan-intel mesa

//安装声卡驱动
pacman -S alsa-utils pulseaudio pulseaudio-bluetooth cups

//安装英文字体
pacman -S ttf-dejavu ttf-droid ttf-hack ttf-font-awesome otf-font-awesome ttf-lato ttf-liberation ttf-linux-libertine ttf-opensans ttf-roboto ttf-ubuntu-font-family

//安装中文字体
pacman -S ttf-hannom noto-fonts noto-fonts-extra noto-fonts-emoji noto-fonts-cjk adobe-source-code-pro-fonts adobe-source-sans-fonts adobe-source-serif-fonts adobe-source-han-sans-cn-fonts adobe-source-han-sans-hk-fonts adobe-source-han-sans-tw-fonts adobe-source-han-serif-cn-fonts wqy-zenhei wqy-microhei

//打开字体引擎,取消最后一句的注释
vim /etc/profile.d/freetype2.sh
# export FREETYPE_PROPERTIES="truetype:interpreter-version=40"

//安装显示服务
pacman -S xorg
//安装桌面环境。plasma:就是桌面环境;sddm:登录管理器;konsole:kde下的终端;kate:文本编辑器;ark:解压与压缩;okular:PDF查看器;spectacle:截图工具;AUR:管理工具
pacman -S plasma sddm konsole dolphin kate ark okular spectacle
//设置sddm登录
systemctl enable sddm

//安装中文输入法,这里没有安装yay,感觉可以先跳过了
sudo pacman -S fcitx fcitx-im fcitx-configtool
yay -S fcitx-sogoupinyin
//编辑 /root/.xprofile写入以下内容,这里也是可以先跳过
export GTK_IM_MODULE=fcitx
export QT_IM_MODULE=fcitx
export XMODIFIERS="@im=fcitx"

//安装其他软件,这里好像全都用不了
sudo pacman -S typora netease-cloud-music
yay -S baidunetdisk-electron visual-studio-code-bin google-chrome qv2ray

//清理缓存
pacman -Scc

重启进入

1
2
3
4
5
6
exit

umount /mnt/boot/efi
umount /mnt

reboot

Arch
https://blog.yblue.top/2023/08/25/Arch/
Posted on
August 25, 2023
Licensed under